The Gluten-Free Vegetarian
Avoiding gluten and meat, savoring flavor and family
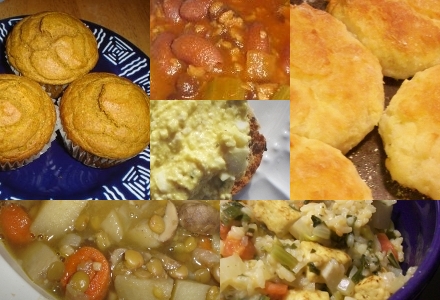
Nourishment!
Safe, kind, delicious food... archived here
I'm a vegetarian by choice, and gluten-free by necessity. This is my household's archive of the recipes we love... the food that feeds us, body and soul. I hope you find something here that nourishes your whole self.